

Hey there! I'm a supplier of cold storage boards, and I'm stoked to share with you how to install a cold storage board. Whether you're setting up a small walk - in cooler or a large commercial cold storage facility, this guide will help you get the job done right.
Pre - installation Preparation
Before you start the installation, you gotta make sure you've got all your ducks in a row. First off, measure the space where you're going to install the cold storage board. This is super important because you need to know exactly how many boards you'll need. You don't want to run out in the middle of the installation, right?
Next, gather all the tools you'll need. You'll typically need a tape measure, a utility knife, a drill, screws, a level, and a caulking gun. Having these tools ready will save you a lot of time and hassle.
Also, check the condition of the cold storage boards. Look for any damage, like cracks or dents. If you find any, make sure to contact your supplier (yep, that's me!) right away. We'll replace the damaged boards for you.
Site Preparation
The installation site needs to be clean and level. Remove any debris, dirt, or old insulation from the area. If the floor isn't level, you might need to use shims to make it even. A level surface is crucial because it ensures that the cold storage boards fit together properly and that there are no gaps where cold air can escape.
Wall Installation
Let's start with the walls. First, mark the position of the first board on the floor and the wall. Make sure it's square and level. You can use a level to double - check. Once you're happy with the position, drill holes in the board and secure it to the wall and floor using screws. Don't overtighten the screws, or you might crack the board.
After installing the first board, it's time to install the adjacent boards. Most cold storage boards have a tongue - and - groove system. Slide the tongue of the new board into the groove of the installed board. Make sure they fit snugly together. Then, drill and screw the new board in place.
As you work your way up the wall, use a level to ensure that each board is straight. If you're installing multiple rows of boards, stagger the joints between the rows. This helps to strengthen the wall and prevent air leakage.
Ceiling Installation
Installing the ceiling is a bit trickier than the walls, but it's definitely doable. You'll need some help to lift the boards up to the ceiling. Start by installing the perimeter boards first. Secure them to the wall using screws.
Once the perimeter is in place, you can start installing the interior boards. Just like with the walls, use the tongue - and - groove system to fit the boards together. Make sure the joints are tight and that the boards are level. You might need to use a ladder or a scaffold to reach the ceiling, so always be careful and follow safety procedures.
Door Installation
The door is an important part of the cold storage unit. It needs to seal properly to keep the cold air inside. First, install the door frame. Make sure it's level and square. You can use shims to adjust it if necessary.
Next, hang the door on the frame. Check that it opens and closes smoothly. Adjust the hinges if needed. Finally, install the door seals. These seals prevent cold air from leaking out around the door. You can use a caulking gun to apply sealant around the edges of the door.
Sealing and Insulation
After all the boards are installed, it's time to seal the joints. Use a high - quality sealant to fill in any gaps between the boards. This helps to prevent air leakage and improves the insulation efficiency of the cold storage unit.
You can also add additional insulation around the edges of the cold storage unit, especially around the doors and corners. This extra layer of insulation can make a big difference in keeping the cold air inside.
Testing
Once the installation is complete, it's time to test the cold storage unit. Turn on the cooling system and let it run for a while. Check for any signs of air leakage, such as cold spots on the outside of the unit or condensation inside. If you find any problems, go back and check the seals and joints.
Tips and Tricks
- Work in a team: Installing cold storage boards can be a heavy and time - consuming job. Having a few extra hands can make the process much easier and faster.
- Read the instructions: Every cold storage board is a bit different, so make sure to read the installation instructions that come with your boards. They'll have specific tips and guidelines for your particular product.
- Take your time: Don't rush the installation. It's better to do it right the first time than to have to go back and fix mistakes later.
Conclusion
Installing a cold storage board might seem like a daunting task, but with the right preparation and a bit of know - how, you can do it yourself. If you ever run into any problems during the installation, don't hesitate to reach out to your supplier (that's me again!). We're here to help you every step of the way.
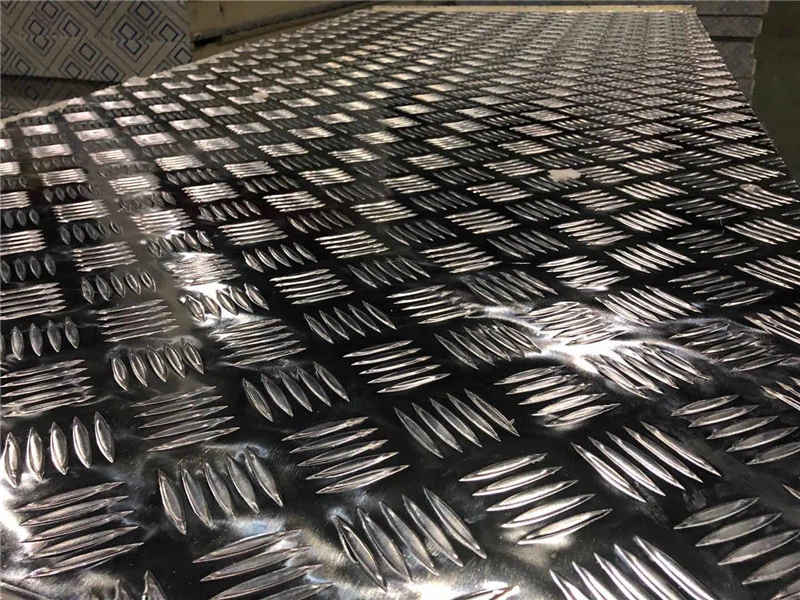
If you're interested in purchasing Embossed Aluminum Cold Storage Panels or other cold storage boards, we've got a wide range of products to meet your needs. Whether you're a small business owner or a large - scale commercial operator, we can provide you with high - quality cold storage solutions. Contact us to start a procurement negotiation, and let's work together to create the perfect cold storage unit for you.
References
- General knowledge from years of experience in the cold storage board industry.
- Manufacturer's installation guides for cold storage boards.